
Well, after a long haul and learning curve, I have started building my own Arduino. First up, I just want to say, the AVR Standalone from Adafruit – I can’t get the darn thing to work. So I am flashing my chips the old fashioned way.
I did try working with their support staff (i.e. people who post on their forums whenever they feel like it). And I did try a dozen ATMEGA328P chips, as well as 3 Arduino Uno’s. Anyway, I digress – just be advised that sometimes you may need to flash the chips the old fashioned way.
Instead I am using these procedures to flash my own chips. Slow, but effective.
Getting the Parts
There are a couple of ways to do this. You can order the parts individually (I do this as well, typically with the AtTiny85 to build small Arduino’s). Or you can order the parts on some website such as ElectroDragon. Finding an unflashed ATMEGA can be a little bit tougher, you may need to look at places like eBay or
A kit will set you back about 5 dollars and change, plus you need to order some blank ATMEGA328 chips (about 3 bucks each unflashed, 4 dollars each pre-flashed with Arduino). You will also need an FTDI cable (mine came with the Meggy I built from Evil Mad Scientist).
Assembly
Great instructions, detailed. They look like SparkFun instructions! It takes about 20 minutes to assemble, just move slowly. Once you finish assembly, you will need another Arduino or an AVR programmer to flash the chip.
Step 1: Assemble the board as indicated. Lots of soldering. The instructions are great, but the board will be assembled without a chip.
Step 2: You will need to either purchase an ATMEGA328P-PU with an Arduino already on it, or you need to flash the ATMEGA bootloader. I used the instructions here to flash it properly. I also added a D or a U depending on what bootloader I specifically flashed to the device.
Step 3: Place the chip into the Uno you built. Connect your FTDI cable, and install a sample sketch (in my case, I use a really simple sketch for testing that just turns all inputs on / off with a 100ms delay).
Step 4: Done!
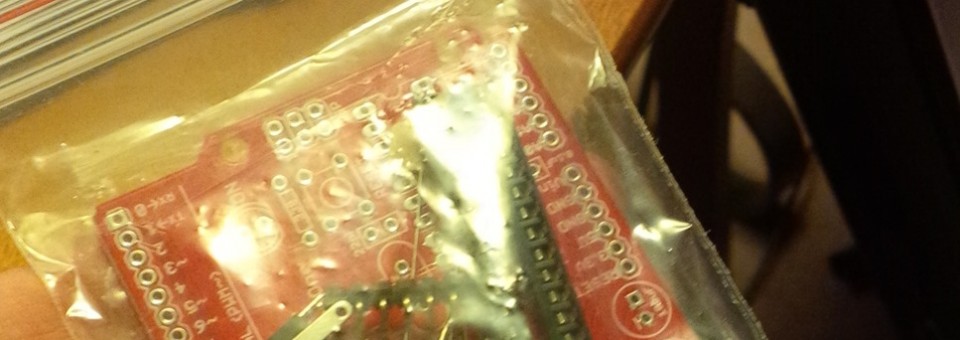
Final product

(With an Uno and Red Board in the background)
Watch a video of the assembly here: