
As previously announced, I am proud to announce a brand new Raspberry Project! This time I ordered my parts from Newark Canada after reading about their involvement with the Raspberry Pi.
This fun little project is intended to show off some great little features from this mini-PC. To show users how to leverage some of the functionality of the unit.
What is a Ghost Hunting Box

A ghost hunting box collects various pieces of information often outside the visibility of a normal person. In our case, we are going to give the person the ability to see invisible objects, detect temperature changes and collect audio.
Parts List
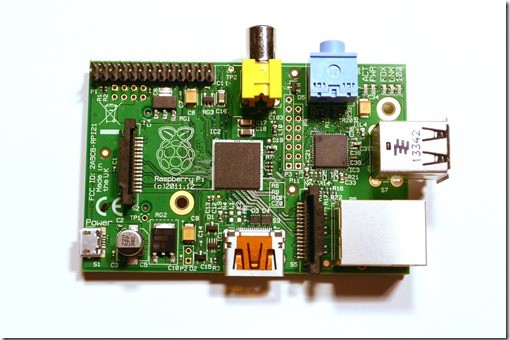
- Raspberry Pi
- Raspberry Pi – No IR Camera
- Raspberry Pi – Touch LCD
- Raspberry Pi – Plastic Case
- Raspberry Pi – 8GB SD & NOOBs
- Any 5v USB Rechargeable Battery
- 22 AWG Wire
- Heat shrink tubing
- 1x Mini-stereo connector
- Mini Speaker
- Any USB Wifi Dongle (with Linux drivers)
- Any USB Microphone (with Linux drivers)
- 5x Red LED’s
- 5x Green LED’s
- 10x 330ohm Resistors
- 1x Toggle Switch
- Light Sensor
Action Plan:
- Part 1 : Unboxing, Creating a Speaker, Setting up an SD card for NOOBS and Installing an OS on your Pi
- Part 2 : Setting up and testing the Camera and LCD
- Part 3 : Installing a Microphone, and Recording Audio and Video
- Part 4 : Clean-up, Casing and Miscellaneous including Adding Wifi and a Battery
Getting Started with Part 1
Video of the Build
Creating a Speakers

- If the cables are loose on the pre-purchased speaker, use your soldering iron to warm up the solder and remove the existing wires.
- Cut and prepare 2x 22 gauge wire lengths about 6 inches long
- Screw on the mini-stereo jack cover
- Shrink the heat shrink tubing
- Solder the ends to the stereo speaker
Setting up an SD Card for NOOBS

- Install SD Formatter 4.0
- Format the SD card using SDFormatter
- Download NOOBS
- Open the ZIP archive and copy to the SD Card
Unpacking and Connecting a PI

- Unpack the Pi and Camera
- Install the SD card you formatted on the bottom of the Raspberry Pi
- Connect the Camera by loosening the camera connector beside the Ethernet port (lift up on the tabs)
- Plug in the camera cable with the gold connectors facing away from the Ethernet port
- Connect a USB Mouse and Keyboard
- Connect an HDMI cable (please note: If you try to use composite, you need to press “3” or “4” after powering on the Pi to see the display.
Installing an OS on your PI

- You should see a list of available operating systems
- I’m going to use the Debian build for this project
- Install the OS (will take a while)
- The unit will reboot and bring you to a configuration panel
- Change the password
- Enable a GUI
- Enable the Camera
- Press OK to restart again to the OS
- Confirm the OS opens properly, and then shutdown the Pi properly using Shutdown (some batch commands may not be finished)
Please update this to a current Raspberry Pi 3B+. Use an SHT31-D (I2C) for temp and RH (required). I’m doing scientific research (real research) and need something like this all-in-one unit. Things have changed since this build. can you please update? Thanks.
I would love to but don’t have the gear. Not long after posting these, I ended up working for some startups and eventually founding our own game company in VR. I’ve been slowly getting back into IoT though, so who knows, maybe one day 😀