3D Virtual reality is cool.
Please note: I promised a full game, but actually its just a jumping cube! Once I get a few free minutes, I’ll come back and update the code to make it more game like 🙂 So, if you haven’t, think about following the repository!
I can’t explain it any better than that without putting you in a chair and headset! Over on our side, we have been working as fast as we can to build a game company focused around 3D and virtual reality (so Myo, Razer, Oculus, Steam (HTC) – if you are listening – we could really use any help you can give us as we build up this new game company)!
However, one of the core challenges is how to control your virtual world … when you can’t even see your hands.
In this integration demo, I’ll show you how to combine an OSVR (Open Source VR helmet from Razer) and a Myo (arm band that detects your hand movements). This will let us remotely control the jumping of a character using only your fist!
Who’s this article good for?
This is a very simple overview of the hardware, why it does what it does, and how it connects together. It includes some very basic information on connecting the pieces together, and is meant for junior developers. Intermediate and Advanced developers likely won’t get much from the article.
Its primary purpose is to show the ease of which a new developer can work with the components to get some kind of effect out of the components and to show that really, in only a few minutes, you could be coding away on your first VR or Myo controlled game. For more structured development, a more scalable approach should be used that allows you to handle a wider array of devices.
Integrating Myo and OSVR
Want some specifications on the OSVR? Check our earlier article here. Want more details on the Myo? We have you covered here too, under a another article.
Over my years with hardware, I’ve found that hardware breaks down into two categories. Hardware that provides information (displays, speakers, vibration) or hardware that gathers information (controllers, inputs, cameras, sensors). Interestingly, this is also an important way to define and break out your code as a software developer!
Edit: As mentioned below, to “properly” begin integrating all of these types of things together, you ultimately want to create some kind of abstraction layer. Something that can handle different VR models for you and different Input models, and provide a simplified API for yourself for development. I won’t go into it as much in this particular article, but I’ll link to it in the very near future!
Virtual Reality headsets do a great job of providing information to the user, and the OSVR does come with an IR sensor for providing information back. However there are restrictions with this such as visibility and difficulty integrating the IR tracking in sitting positions and away form the PC. For the purpose of this tutorial, I’m going to take a different approach, and utilize a Myo armband which allows me to provide feedback with little more than hand gestures.
In the following demo, we will create a simple little game that lets a cube jump just by closing our fist.
- OSVR as the Display and look rotation
- Myo as the Controller and system to interact with the game
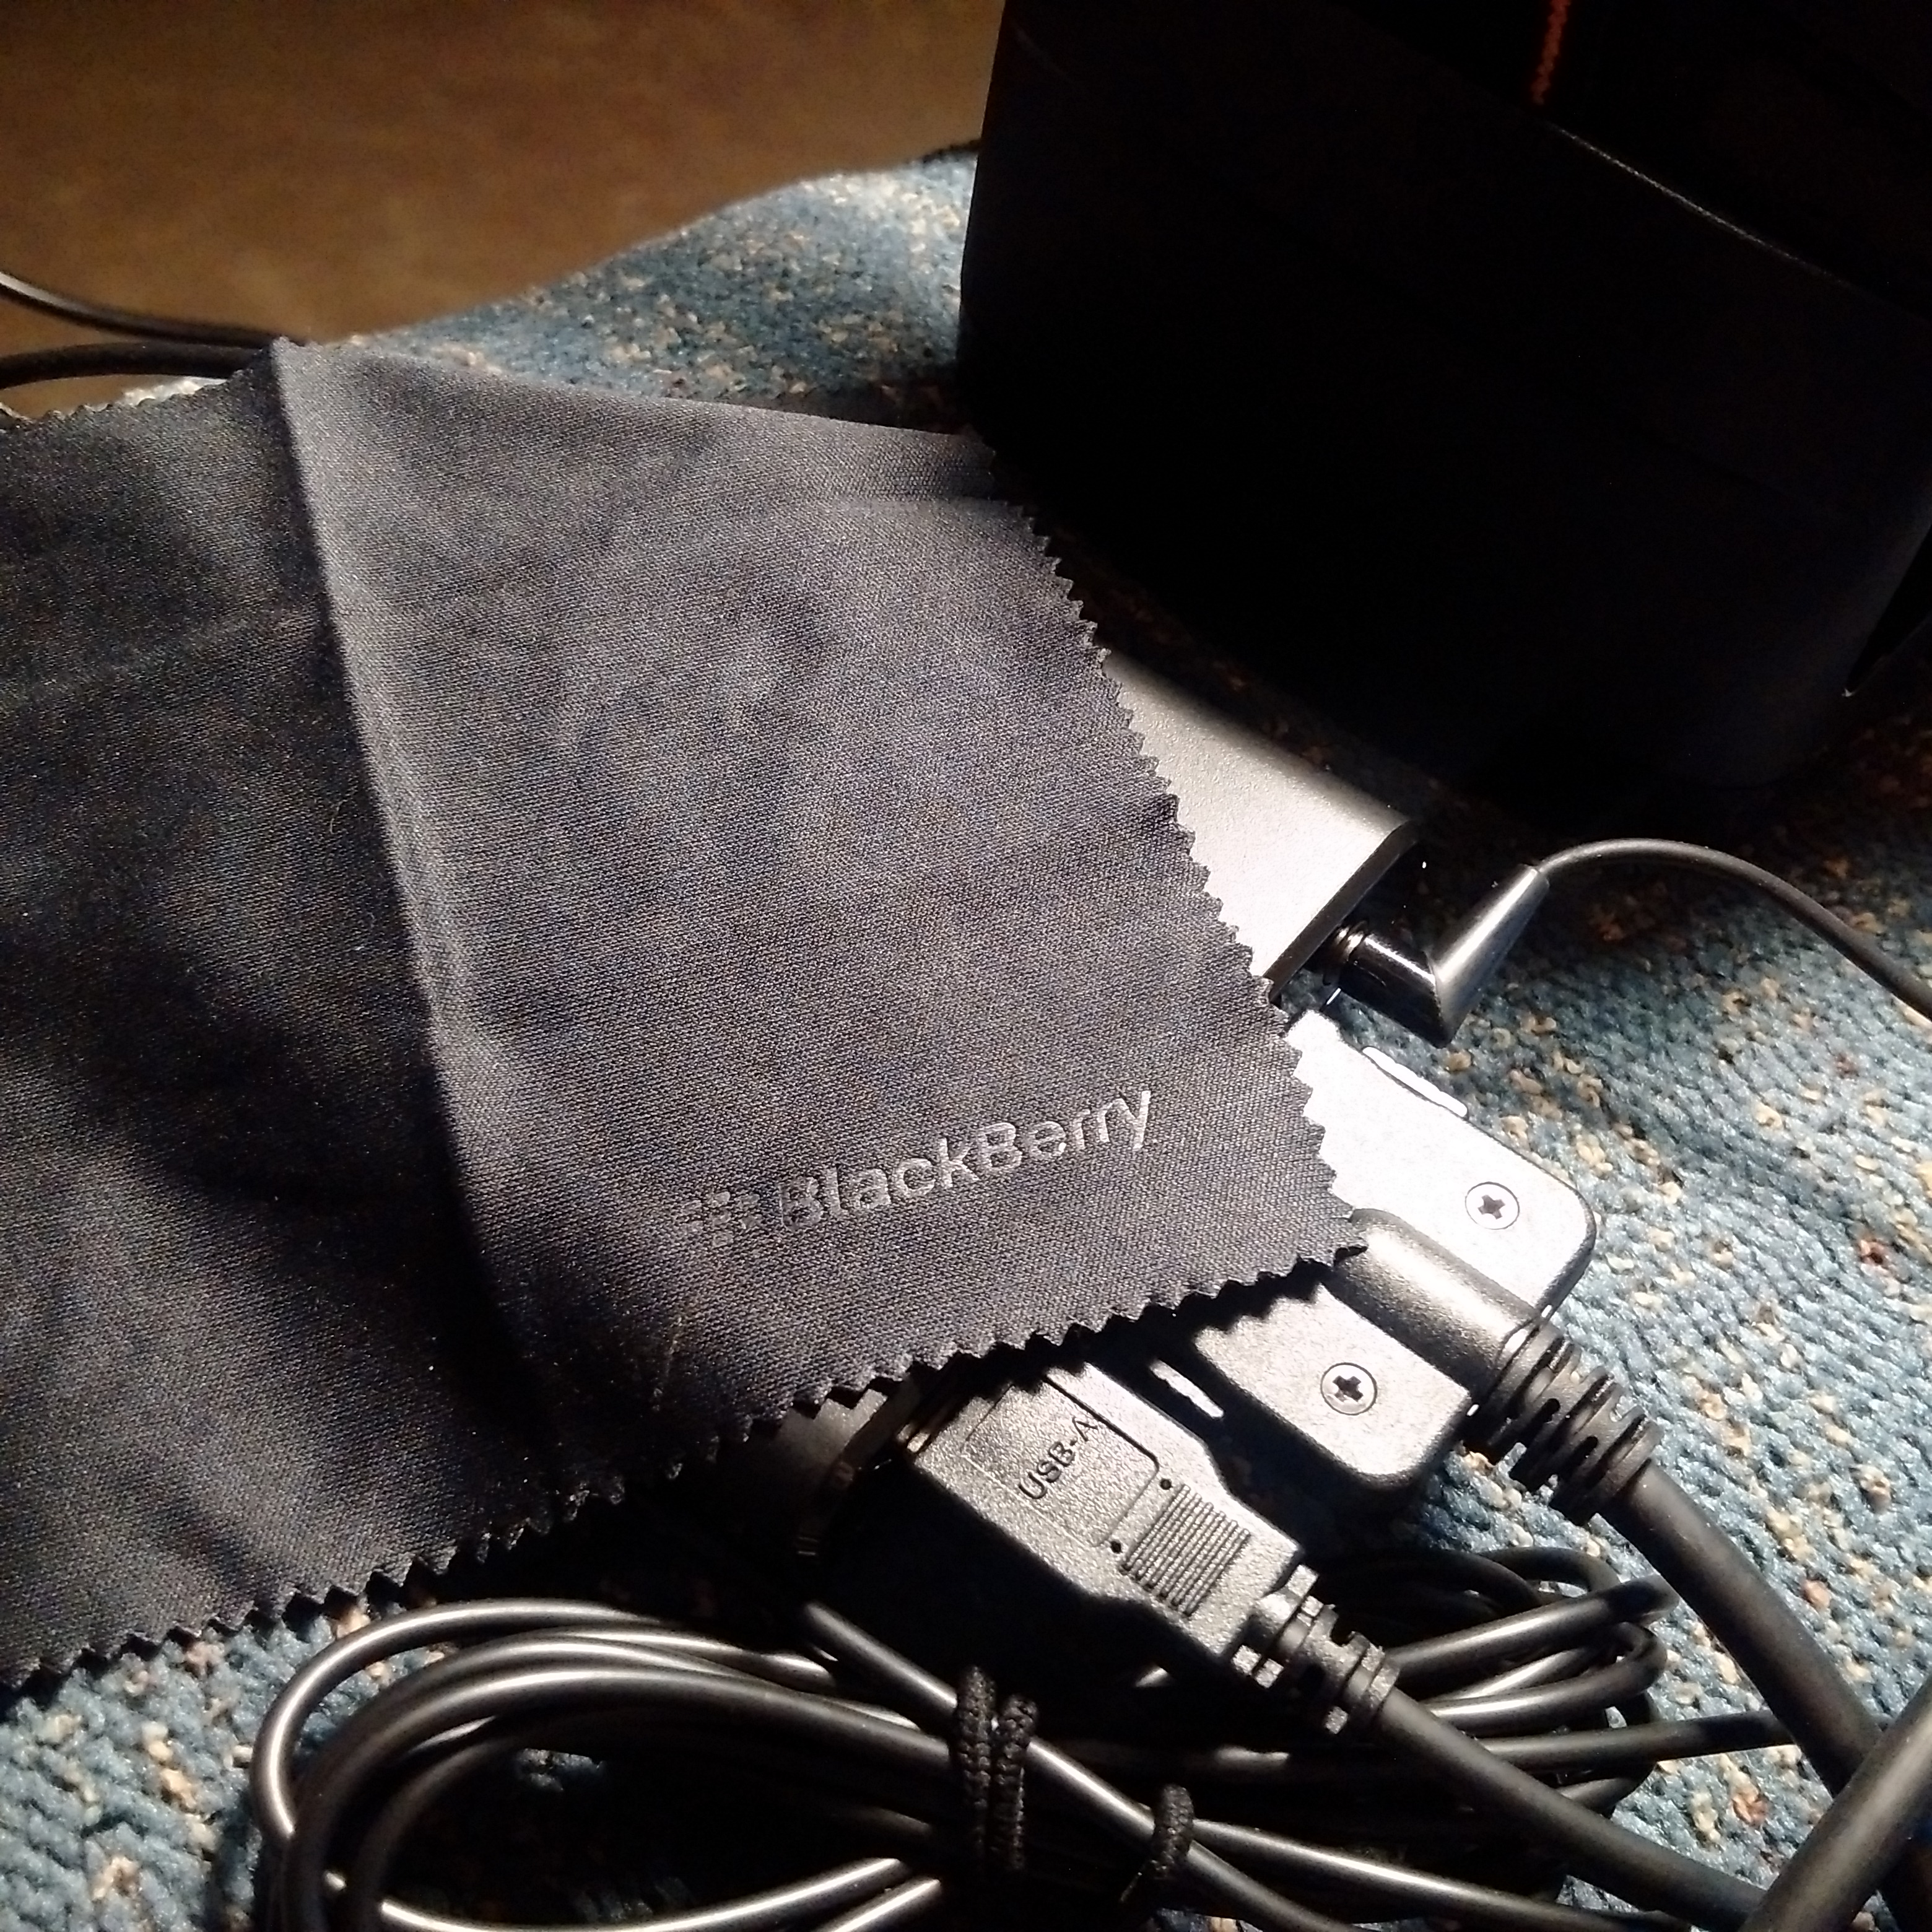
As soon as I started working with the OSVR, I found one thing I really wish it came with was a proper screen cleaner. By default it does come with a cute and cheap little air brush, however, this can’t remove fine oil (such as will accumulate on the lens if it touches your skin) and the strands aren’t the right size for dealing with dust.
I just happen to have a bunch of BlackBerry screen cleaners kicking around, they look great and work well for this kind of stuff – just remember though to be gentle as they aren’t really meant for these types of lenses. You don’t want to be “that person” that scratches up a lens trying to obsessively clean them.
Got the Hardware, How Do Components Talk?
If we are lucky, the third party hardware (such as Myo and OSVR in this case) may come with a friendly Unity Asset Package You can double click on these to open in them in Unity to import their special API’s – these API’s let you do things like read the devices or send data to them. Its also usually vetted by the community, the makers, and comes with some docs to get you started.
However plugins on their own usually can’t connect very deep into a system. The plugin needs to communicate with “something”. A common solution for hardware companies is to use a server or connection layer, typically a little background service running that listens to a port usually transferring data using JSON on the clients machine. Sometimes it runs all the time automatically (such as you will see with PS4 console development or with the Myo) and sometimes it only runs when you run a special server (such as you will see with the WiiU or the OSVR). The important thing to know is that once the server is running, it opens a port on your PC that the Unity plugin actually connects and communicates with. This means you need both a plugin layer for Unity, and a background process for it to talk to.
This doesn’t always remain the same though on the finished product available to the public – in fact, they often change quite drastically. So consult the appropriate documentation to determine what other steps are required to “finish” your package when you get there (often this might just mean building a package a special way, without having to worry about third-party servers and additional libraries). These changes usually mean an easier experience for the user, but include building the package in such a way that its harder to debug (that’s a good thing).
Note: This tutorial will be Windows only.
Installation:
For the purpose of the timing, I’m ignoring the installation time, as most cross-platform developers already have Unity installed. Although due to fragmentation of the framework, may do not have it up-to-date or may need to perform a separate installation. In this tutorial, we will be using the latest version of Unity 3D.
The average installation time can be quite significant thanks in no small part to the massive SDK for Windows 10 universal packages (12GB, double Unity and all its associated platforms combined).
Downloading Unity (Install time, hours):
Get Unity here: https://unity3d.com/get-unity
When you install Unity 3D 5.3 and higher – it only installs the depreciated Web Player and no other add-ons by default. Additionally, if you install the stand-alone package, the editor ONLY includes the web-player run-time. The depreciated web plugin will not work correctly with Visual Studio. It is my recommendation to use their web installer, and very carefully select which platforms you wish to include.
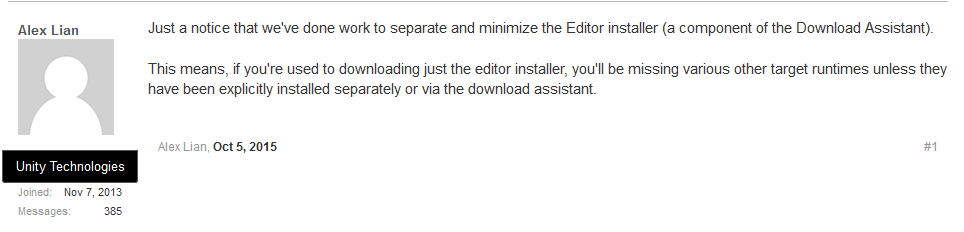
This information is found on their forums: http://forum.unity3d.com/threads/important-new-editor-installer-separates-out-player-runtimes-use-download-assistant.359302/
As I began working with the installer, the reason why became evident soon enough. To bundle in the Windows 10 universal experience, the installer includes an additional 12 GB, raising the initial 7GB installation to a total of 19GB.
Getting the Plugins
Downloading Myo (Install time, minutes):
Getting the Myo package is fairly easy. Visit the following URL: https://developer.thalmic.com/
Select Downloads, Download Myo Connect and Windows SDK
Install Myo Connect
Unzip the Myo Win SDK Unity Package to an easy folder to remember and access (such as C:\dev)
- Note: Myo Connect lets your SDK connect to your armband and the Windows SDK contains the Unity package file
Downloading OSVR (Install time, minutes):
OSVR has some handy reading material for you here: http://osvr.github.io/build-with/#building-an-app-with-unity
However, getting the package is pretty easy, but can be a little more confusing than Myo. Download the latest package here: http://access.osvr.com/binary/osvr-unity
Unzip the Server and Unity Package to an easy folder to remember and access (such as C:\dev)
- Note: This zip includes both the 32 bit OSVR Server, and the OSVR Unity Package
Setting up the Hardware & Flashing Firmware (Install time, minutes):
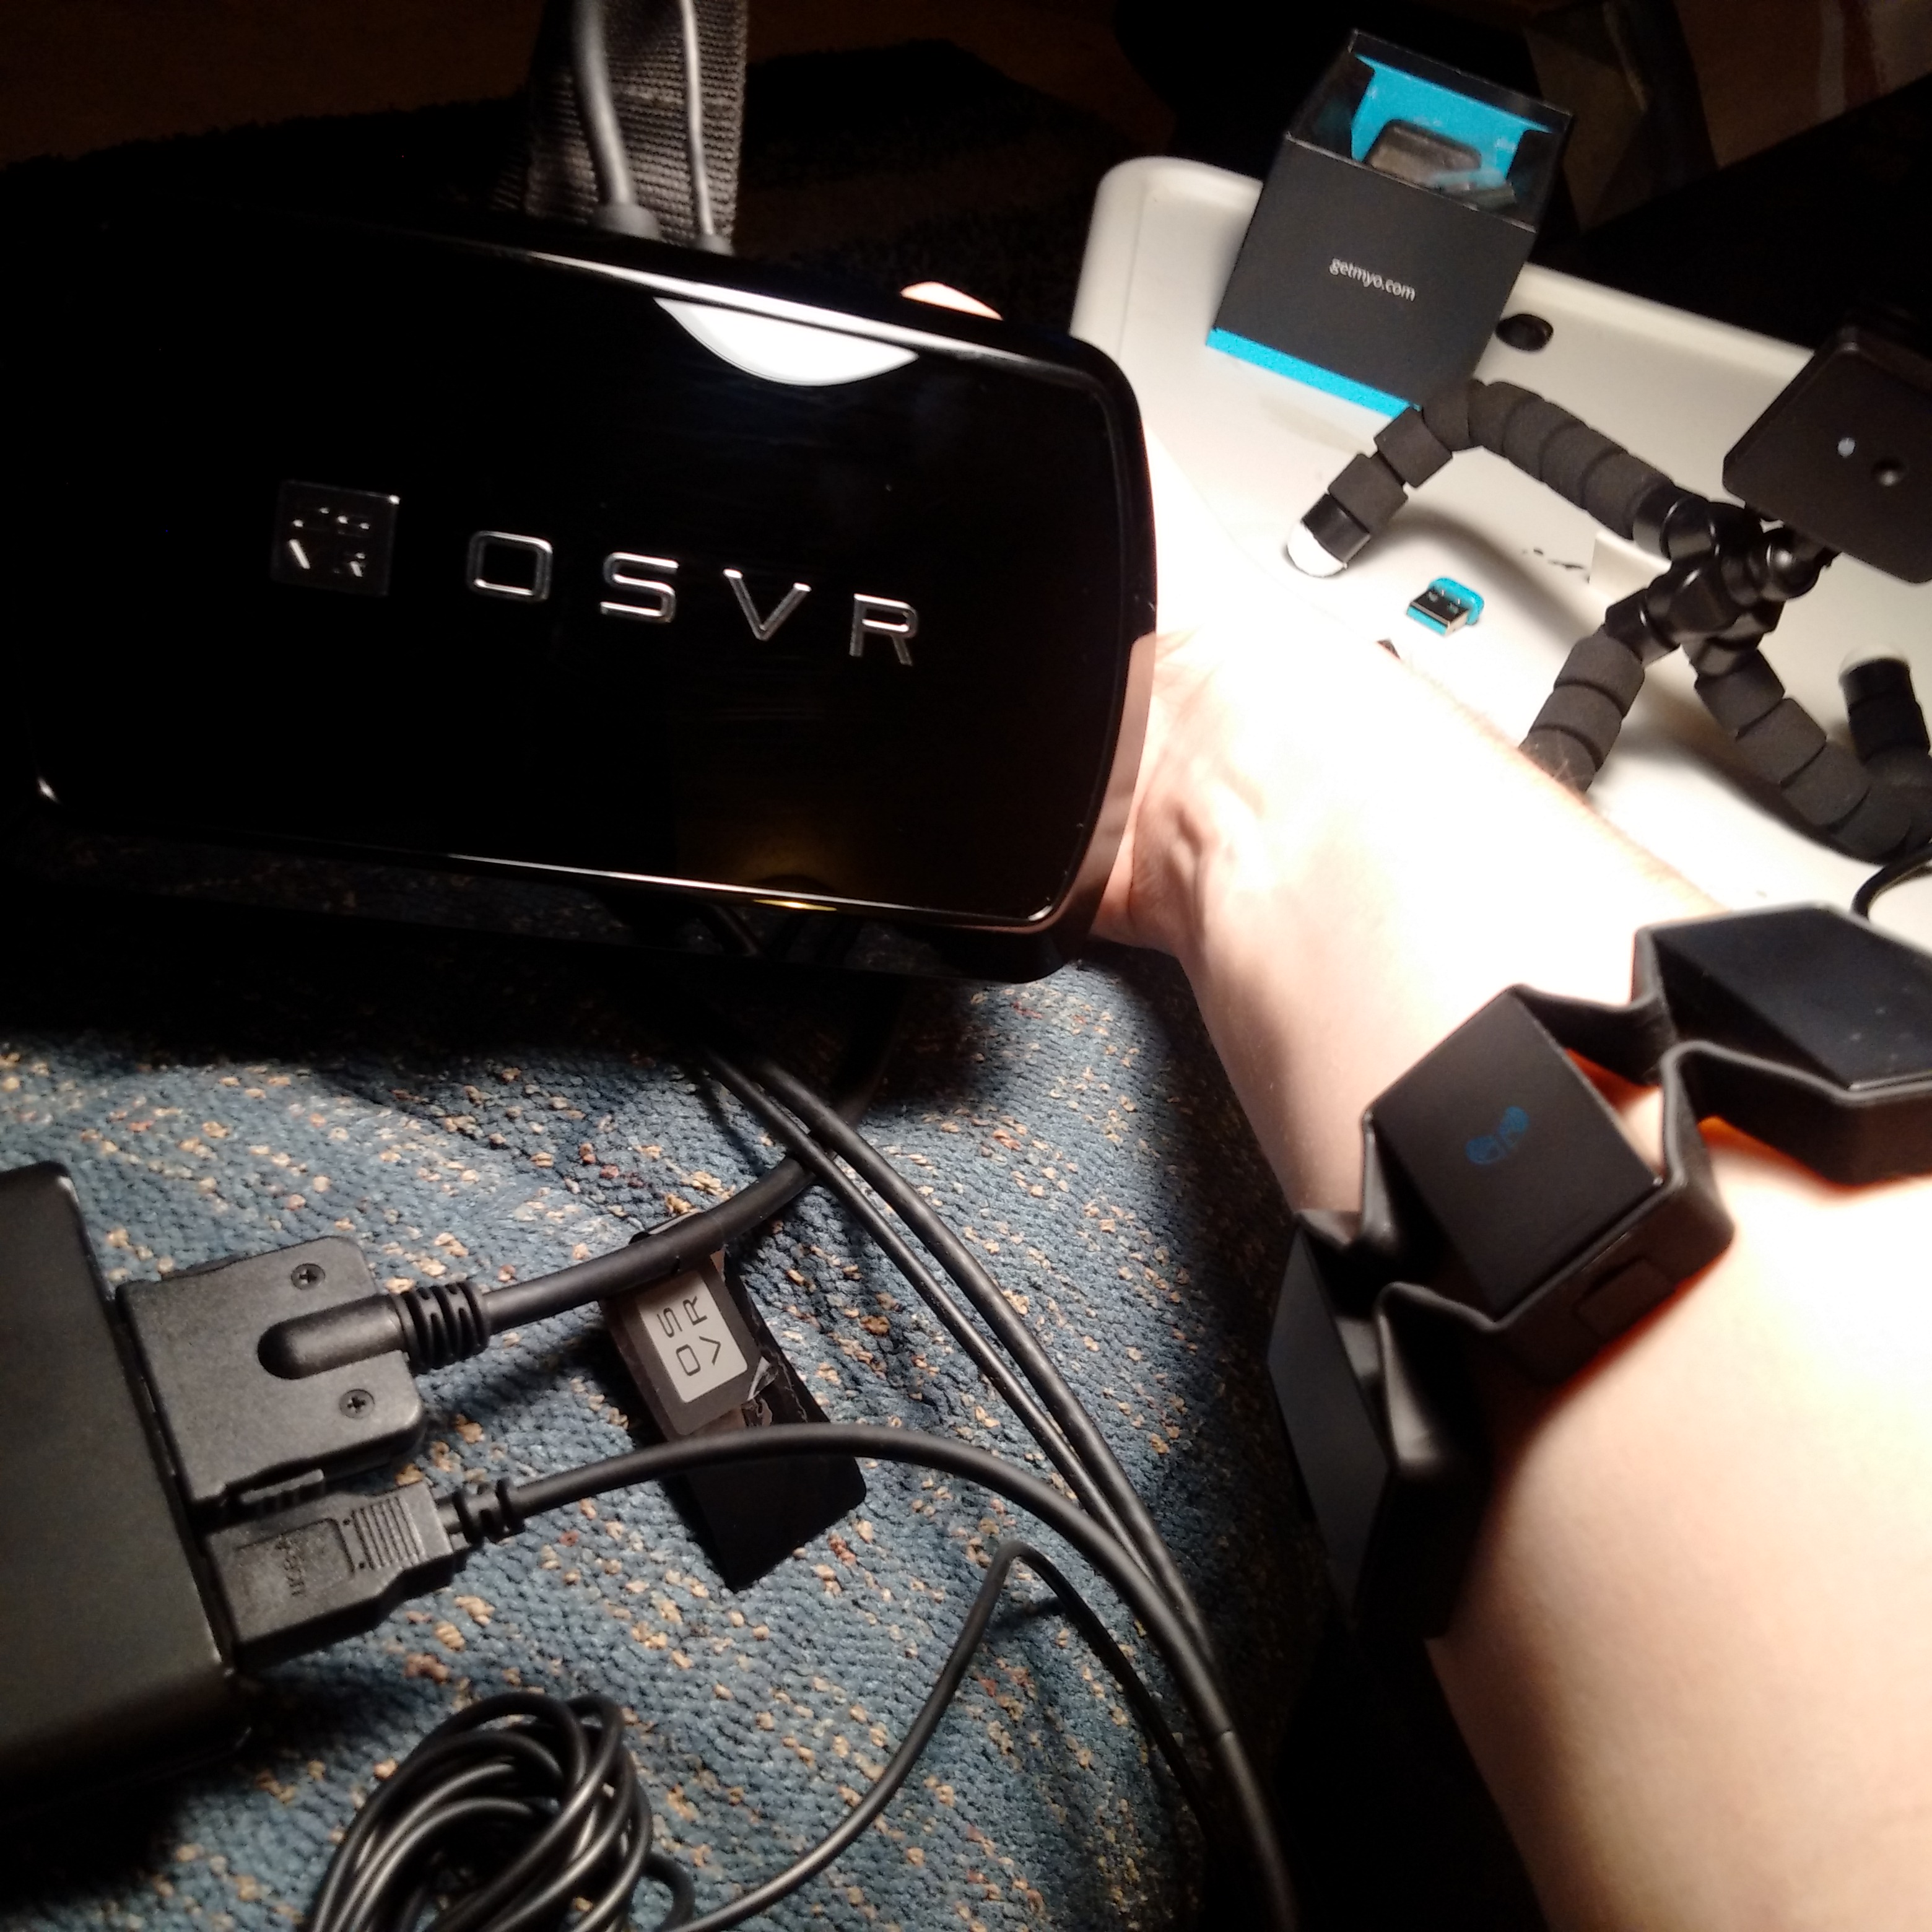
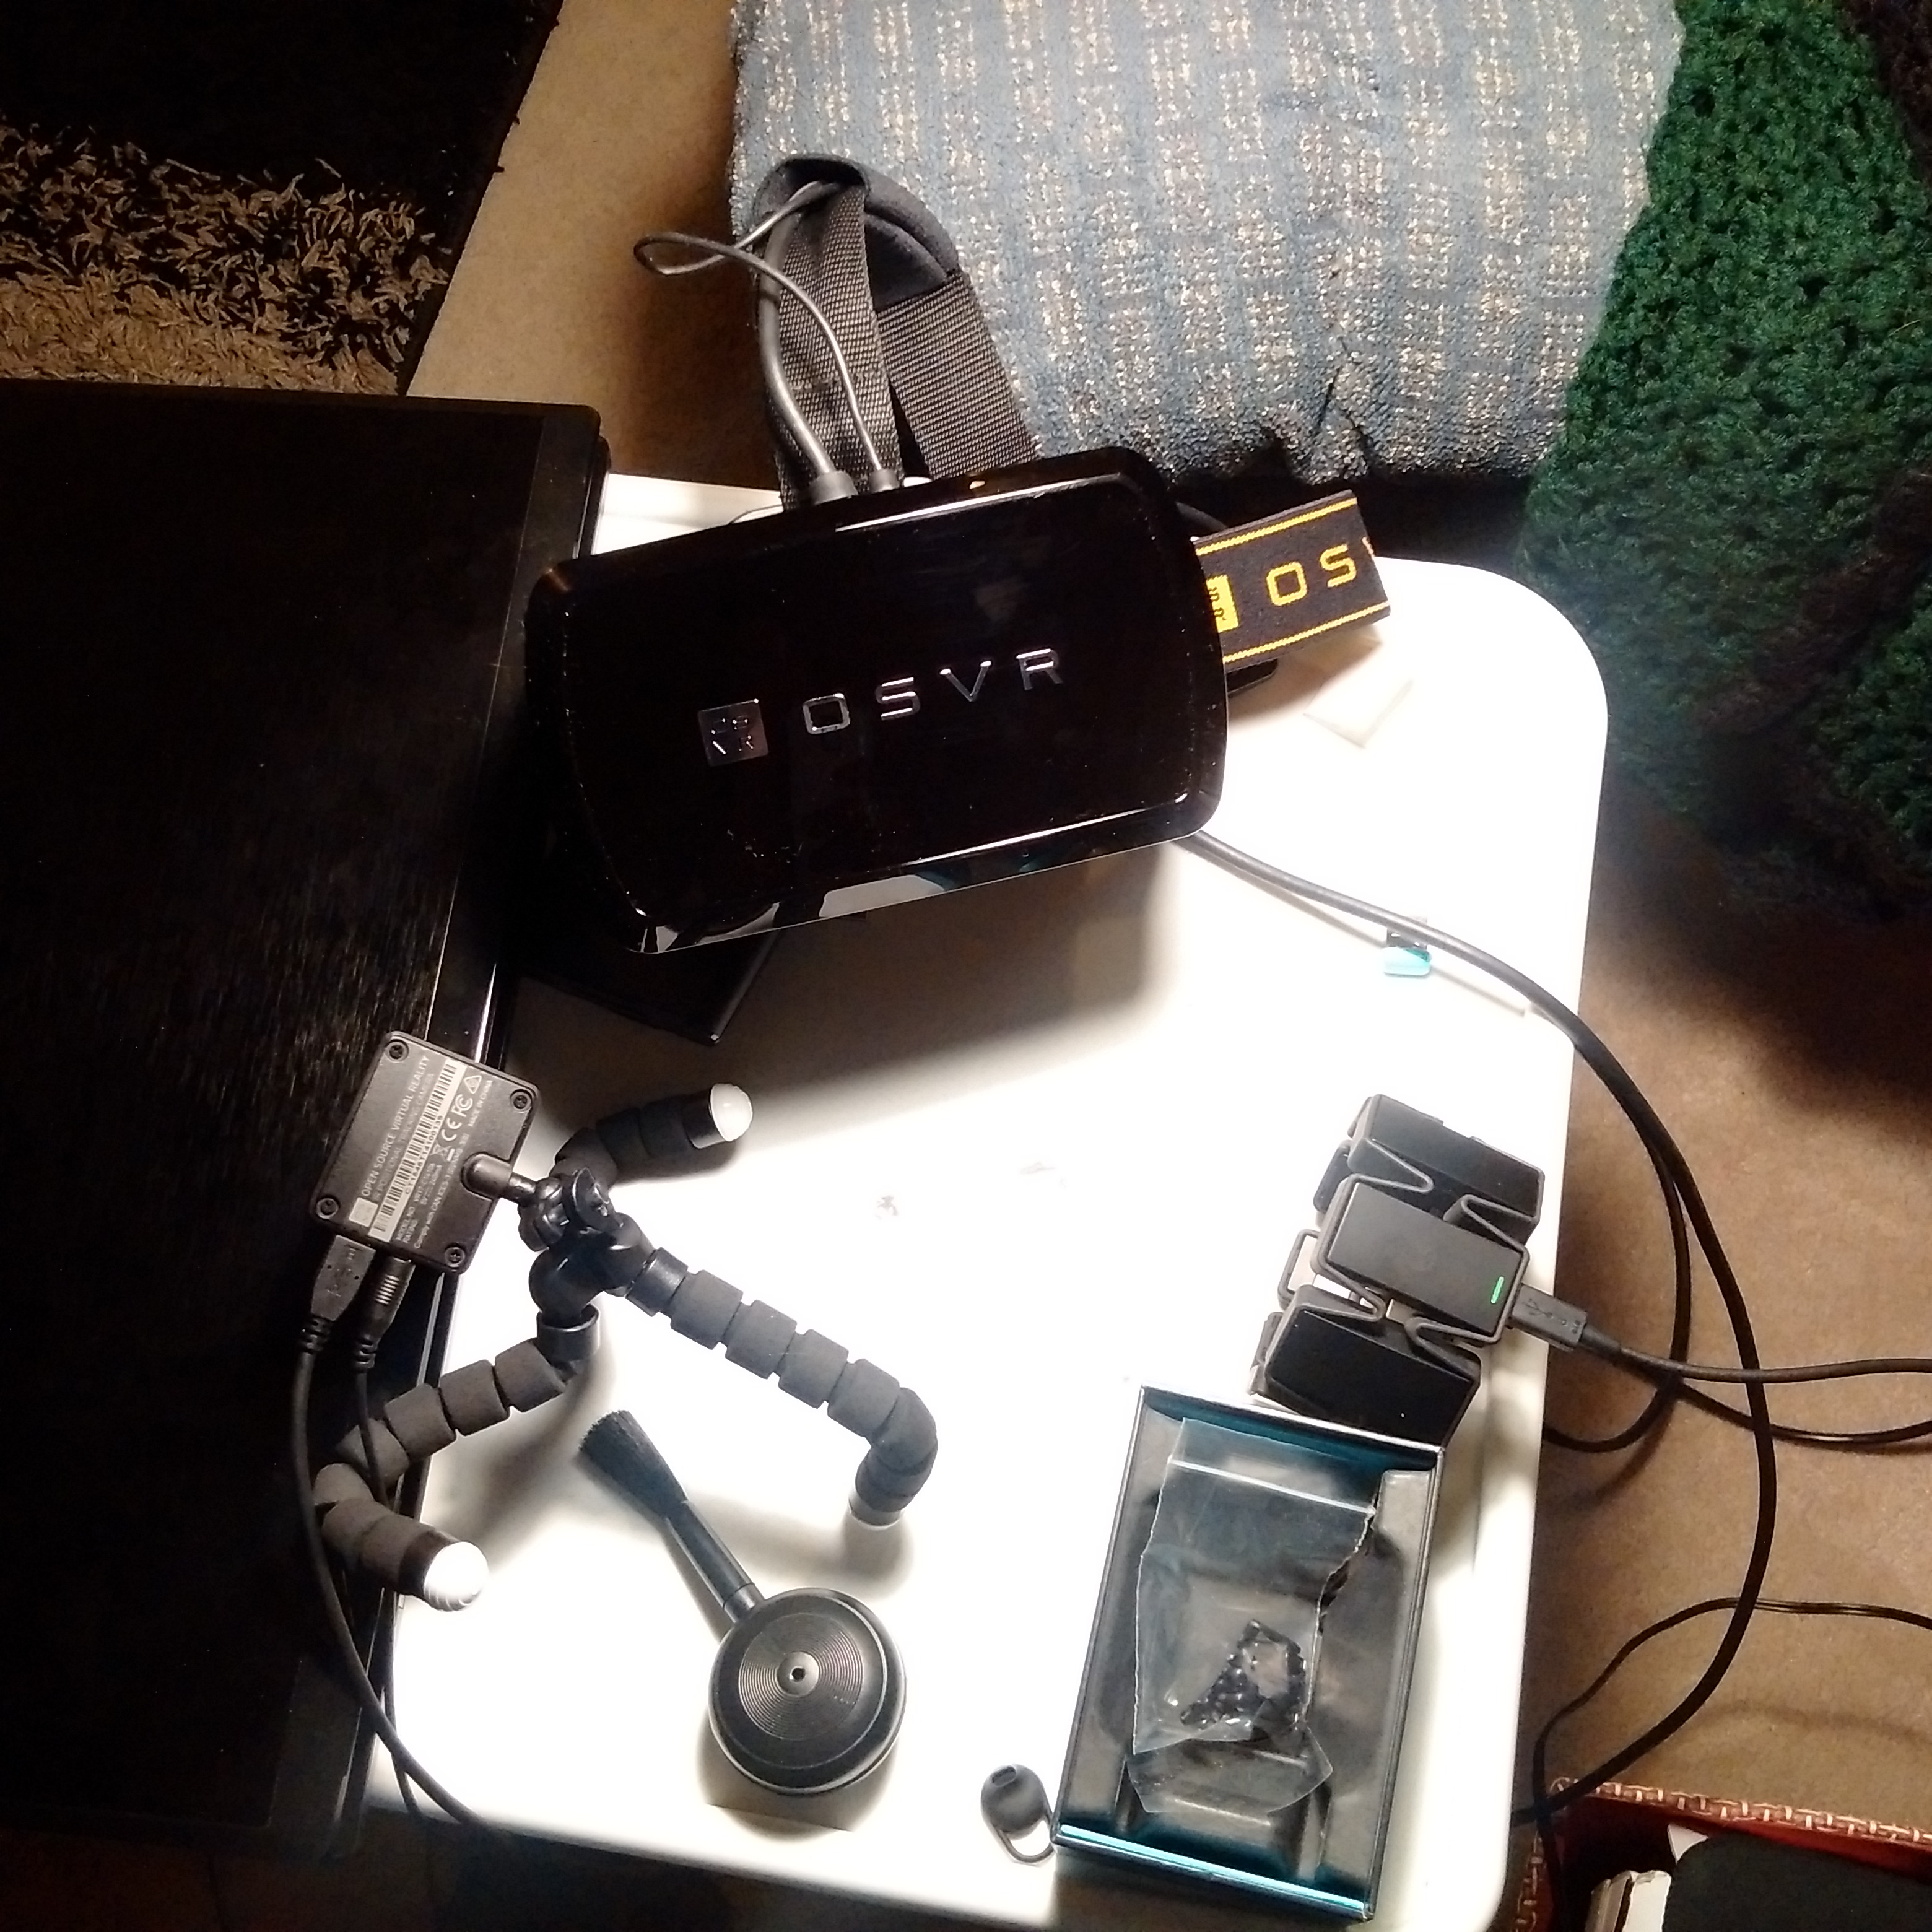
Yay, we’ve now got all core parts! Just follow the instructions in the boxes and connect everything together!
The challenge here will be the OSVR, it takes a while to connect all the cables together and even longer to find a way to put all the cables out of the way. But you don’t want to trip over these later on, so take the time to lay them out nicely now and in a way that is easy to tear-down and setup every time you work with it.
The Myo always requires the little blue Bluetooth dongle in a USB 3.0 port, don’t lose it! … But when you do, contact them via their website, their support team is incredible.
Finally, apply the latest firmware update to your Myo by connecting it via both the USB micro cable AND the Bluetooth LE dongle. You want to update everything – life is no fun unless you are living on the edge! You’ll have to unplug some things, watch some lights blink… hold your hand out with your hand open. palm back, logo facing outwards, USB port towards your wrist … normal things like that – but don’t worry, it will talk to you and tell you what you need to do.
Creating a New VR & Myo Connected Game (Build time, ~ 5 minutes)
OK, we have all our bits and pieces installed and all our cables plugged into the little holes they belong. The challenge I found wasn’t integrating the Myo, it installs and configures and works pretty painlessly. The Myo support team is spot on, and the guys are all over social media, you can check out their github here.
OSVR however was a more difficult for me, its a bit newer technology, and the social media team and publicly digestible articles are still growing into themselves. I found some of the scripts worked out of the box, but to be applicable to most games, required some extra customization to expand them to larger use. I’m still in the process of reworking the OSVR plugin code for my private projects – so I have only committed the bare minimum changes to the attached repo. However I also feel the need to add that it is open source. This means it is on us (the developers playing with the tools) to improve them, as much as it is the hardware creators.
For more information on the OSVR repo, check the following github.
Launching the Servers
- Launch and run Myo Connect (you should see it in your taskbar)
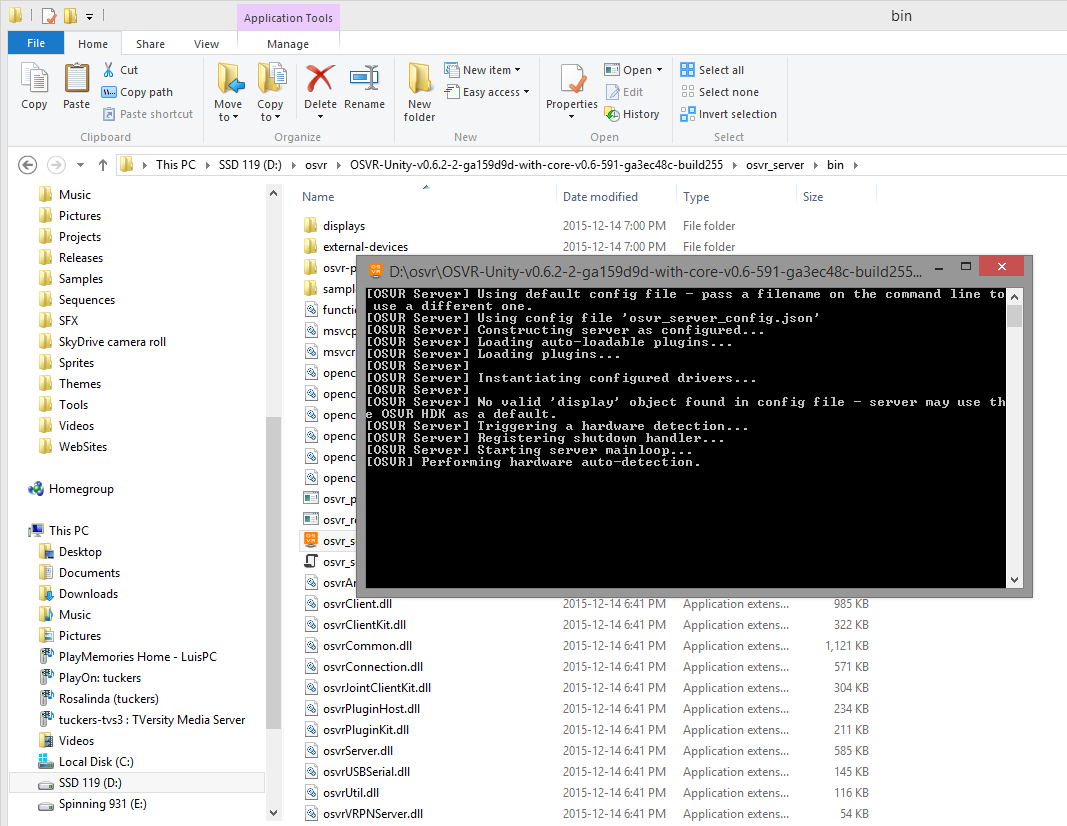
- Run the OSVR server (there should be a 32bit version in the package folder).
Without these, the plugins will have nothing to connect to.
Setting Up the Project
- Launch Unity
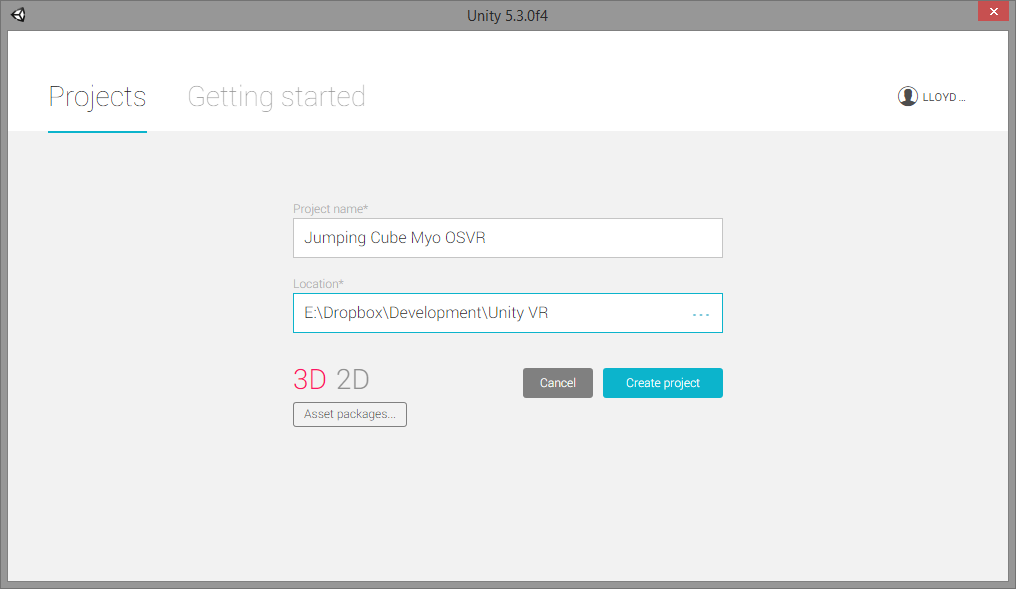
- You will see something like the above, create a new Unity Project using any name you like!
- Once Unity launches, go into the settings, and make sure PC is set as a build option.
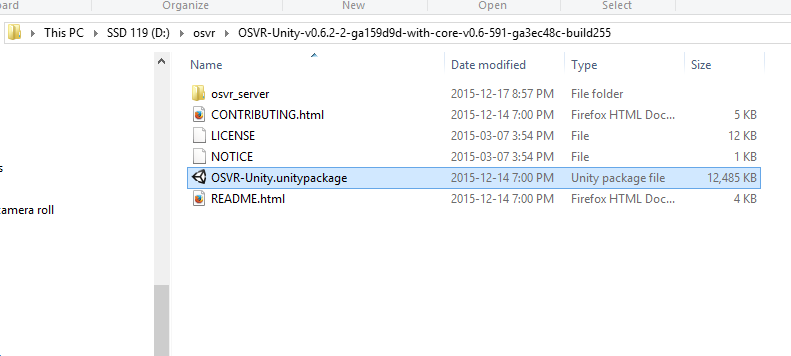
- Double click on both .unitypackage files to install the Myo and OSVR plugins into your new game.
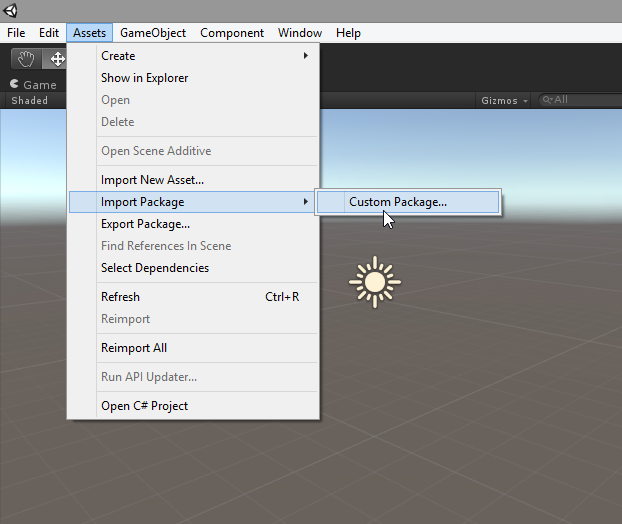
Note: If you have multiple versions of Unity installed (this is common if you support consoles, platforms like BlackBerry 10, etc) you may need to manually import the .unitypackage file using the Unity > Asset > Import package.
We’ve now created an empty project, complete with the plugins! Time to test and build a game!
Possible Errors
You may see an error with the latest packages (specifically the OSVR package):
Assets/OSVRUnity/src/DLLSearchPathFixer.cs(51,47): error CS1501: No overload for method `GetEnvironmentVariable’ takes `2′ arguments
What this is saying, is there is no function called GetEnvironmentVariable that takes two parameters. This isn’t entirely true, the function exists with 2 arguments … just not for the web-player. If this happens, you need to use a different build package under File > Build Settings > Platform. However, if you see this error, it likely also means that no other build settings exist. If this is true, its because of the issue mentioned earlier regarding the installer. In any case, it likely means reinstalling Unity using the web downloader.
Testing the Integration
Testing Your Myo
Now that the package is all set, we can test the Myo!
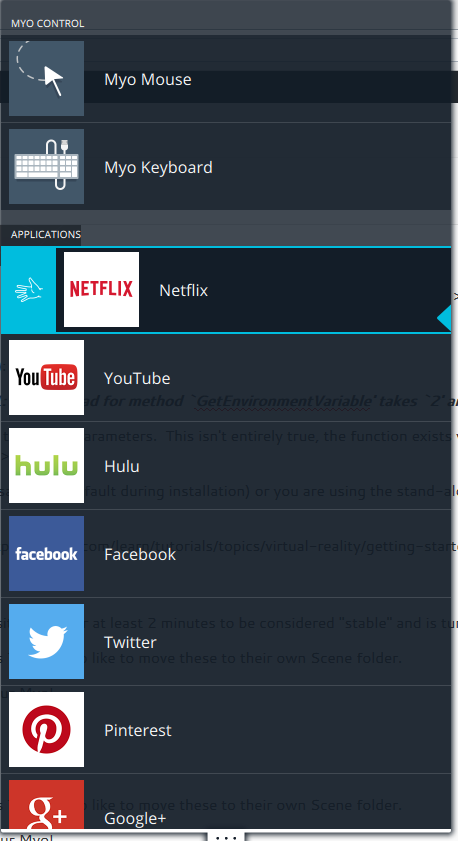
Note: You can also test it without Unity just by creating a fist and pulling down the menu.
The arm band needs to sit on you for at least 2 minutes to be considered “stable” and is turned on by the hand-back and palm-out (wave out).
Testing it in Unity
- Select File > Save Scene As … and enter a name for your scene such as Test. I also like to move these to their own Scene folder.
- Open and run the Myo > My Samples > Box on a Stick scene to test your Myo!
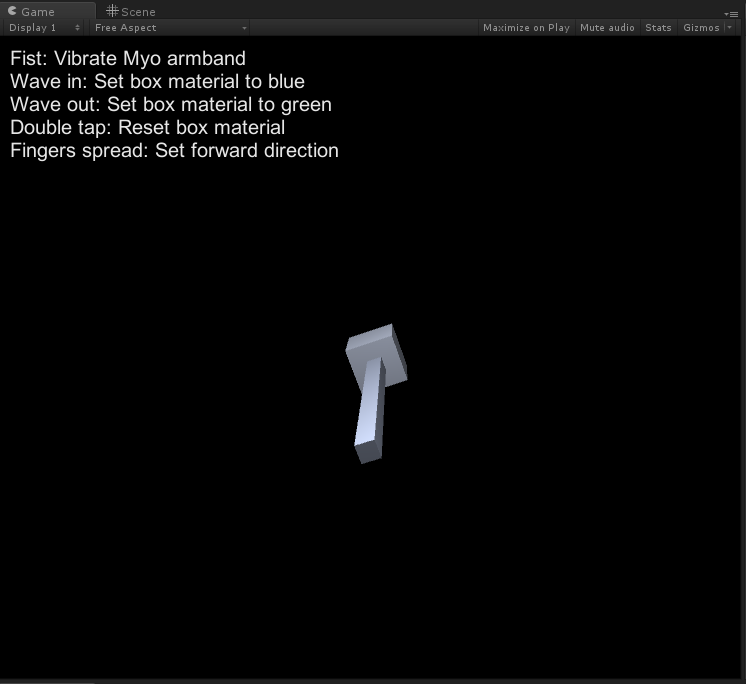
If you can move around the bar, and it registers making a fist, we are good to go for this project!
Testing Your OSVR inside Unity
Time to test the OSVR Headset, you need the HDMI cable set to display from your laptop. I personally like to make sure the OSVR is set to Mirror as an HDMI connection as this lets my laptop display to me what the headset will see. Also, if you connect the headset and “nothing happens” and the display stays dark, disconnect (give it a second to sit and think about what it did) and reconnect it.

- Select the Game tab, and make sure Maximize on Play is toggled on
- Open and run the OSVRUnity > Sample > minigame scene to test your OSVR
If you don’t see anything, spin in a full circle – you should see blue and red cubes and bars! It says its a mini-game, so you can probably interact with them somehow, but I couldn’t find didn’t really look at the documentation on it. I just wanted to know it was working.
Note: If you see a bunch of errors saying Server not detected, make sure you are running the servers from the previous step.
Integration Complete, Tests Complete, Now to Build a Game
Great! We can interact, and we can see. Now time for some fun.
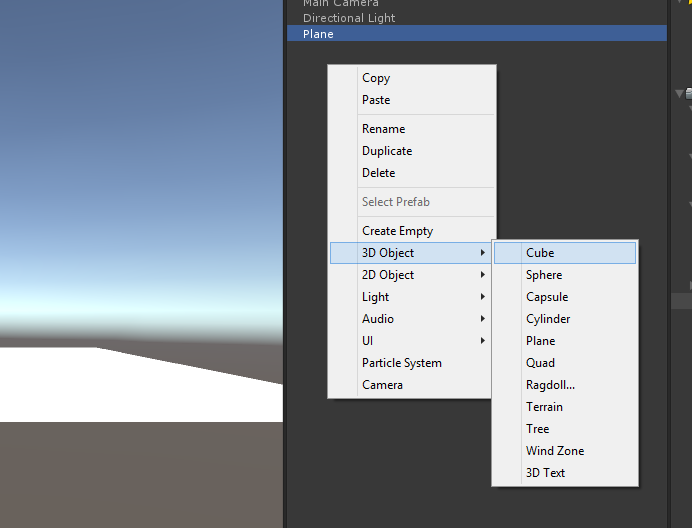
- Open the first empty scene we created, Right click on the Hierarchy and create an empty 3D Game Object > 3D Plain and a 3D Game Object > 3D Cube. They should not be parents of one another.
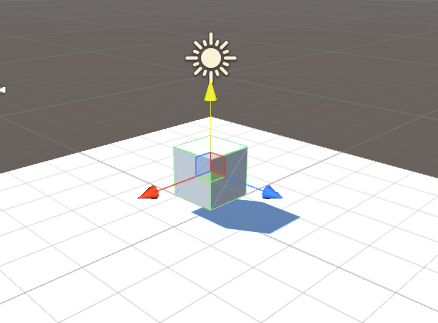
- Line up the objects so the cube is over-top as shown above.
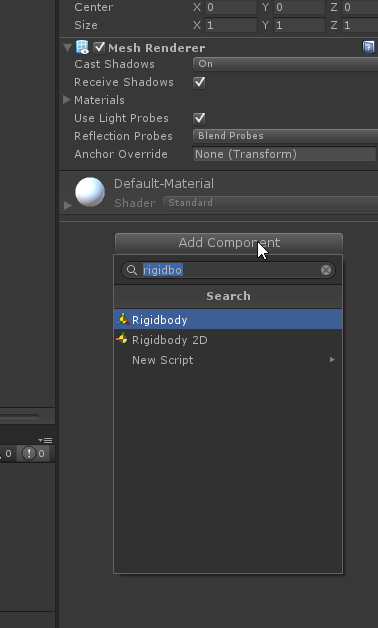
- Select the Cube and in the Inspector panel select Add Component > RigidBody to add physics to the square.
If you press Play, you’ll see the cube fall to the 3D Plane, land on it, and sit still! RigidBody’s handle gravity and physics for us, providing the other object it hits also has a Collider or a RigidBody on it. Be cautious while in Play mode though! If you do any work in Play mode, it will be lost when you stop the scene!
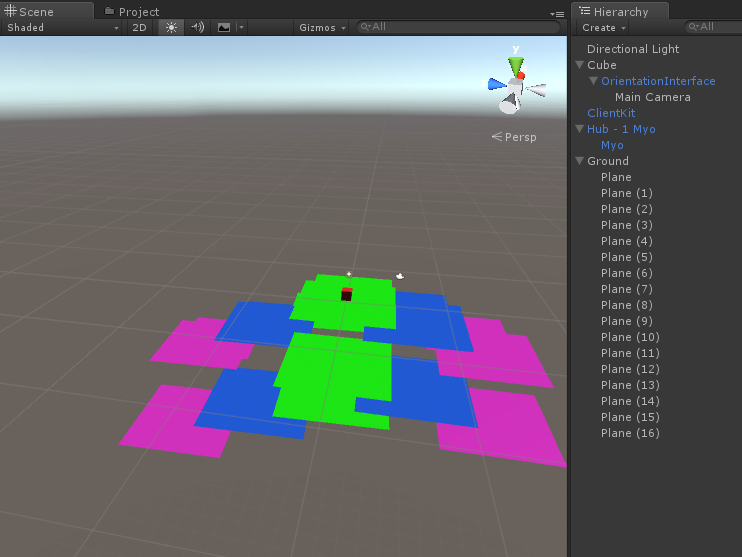
I created a bunch of random plane’s, and gave everything a little bit of colour. This is going to operate as the ground for the jumping cube, and gives us something more interesting than white blocks to look at.
Looking Around with the OSVR
To look around with the OSVR, we can create a camera and assign some scripts. Or the easier approach is to create some objects from some of the Razer provided prefabs.
- From the presets, drag and drop the ClientKit from the OSVR prefabs anywhere you want.
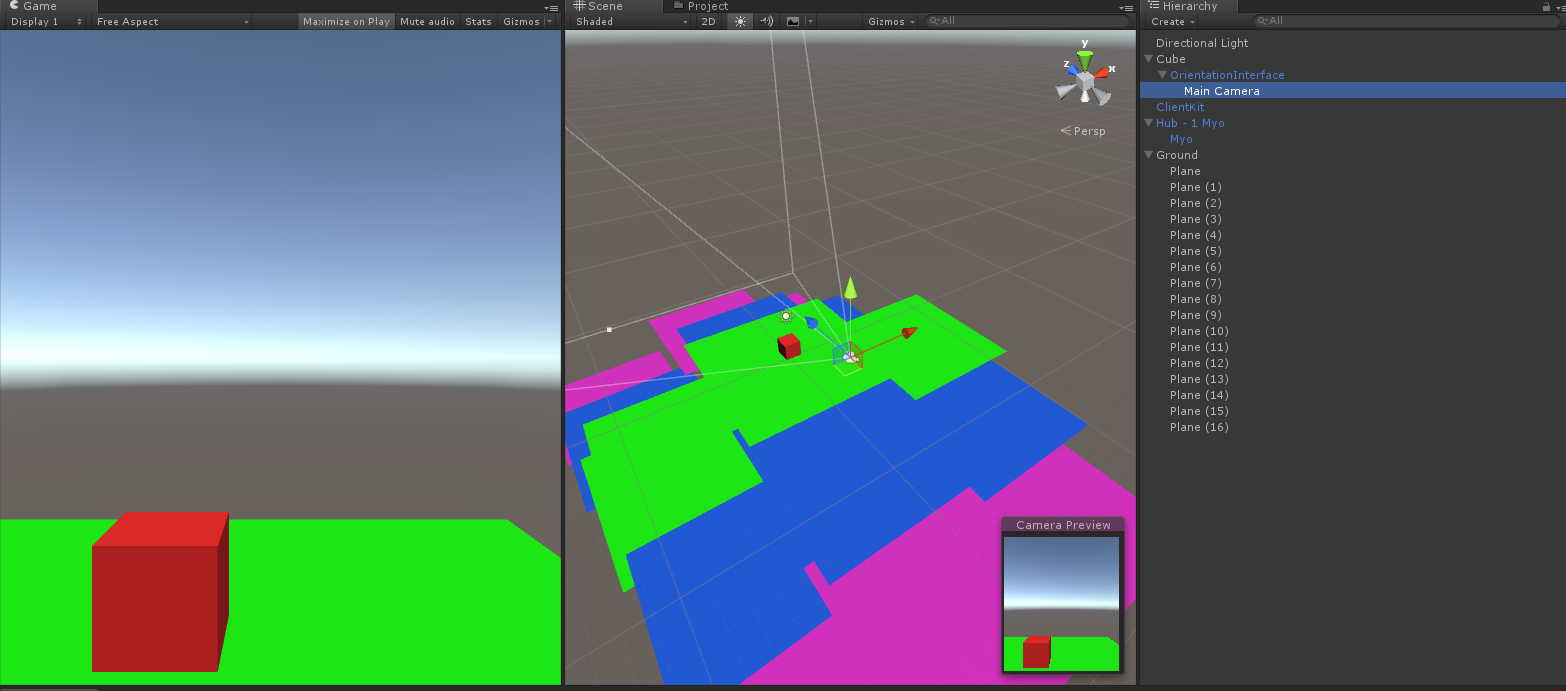
- From the presets, drag and drop the OrientationInterface from the OSVR prefabs onto your cube.
- Line up the Camera so it can see the cube nicely.
Note: The camera should have a Display Controller script attached to it as part of the prefab.
Thats it! OSVR is integrated.
If you press play, the camera should look around!
Making the cube Jump
To make the cube jump, we just need to apply some force when the user makes a fist!
- From the presets, drag and drop the Hub – 1 Myo anywhere.
Now, we can interpret the events from the Myo.

- Right click on the Hub – 1 Myo child object called Myo and add a new Script. I called my script Jump.
using System.Collections;
using UnityEngine;

/// <summary>
/// A class for making things jump when you make a fist using the Myo
/// </summary>
public class Jump : MonoBehaviour
{
    // Public objects can be "set" from the Unity3D Editor
    public Rigidbody Cube;
    public ThalmicMyo Myo;
    // Keep track of our jumping state
    public bool isJumping = false;

    // Executes on first launch
    void Start()
    {
        StartCoroutine(MoveCheck());
    }

    // Runs every 1/10th of a second to see if we need to apply force
    IEnumerator MoveCheck()
    {
        while (Application.isPlaying)
        {
            // Adds force when the user makes a fist or presses the enter key
            if (!isJumping && (Myo.pose == Thalmic.Myo.Pose.Fist || Input.GetKey(KeyCode.Return)))
            {
                var dir = Cube.transform.position - Cube.transform.GetChild(0).position * 2;
                Cube.AddForce(dir, ForceMode.Impulse);
                isJumping = true;
            }
            else if (isJumping && (Myo.pose != Thalmic.Myo.Pose.Fist && !Input.GetKey(KeyCode.Return)))
            {
                isJumping = false;
            }
            yield return new WaitForSeconds(0.1f);
        }
    }
}
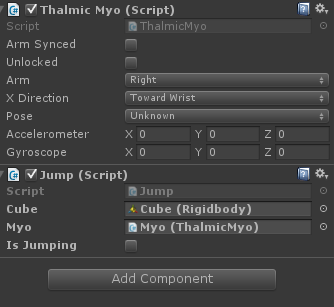
- Once you’ve added a code snippit to the object, drag and drop the Cube from the Hierarchy list to the Cube slot in the Myo game objects Jump Script.
- Drag and drop the Myo game object into the Myo slot.
Press play and you should see everything working! In less than a few lines of code, you now have a cube you can make jump around the screen and it can’t get much easier than that. You can also use the Myo SDK to get all of the degrees of motion from the users wrist, to aim weapons, or interact with the world. And it is easy to keep those rotations separate from the VR display (for things like strafing in first-person-shooters).
Grab the source code on BitBucket
That’s It!
This may seem like a long article with a lot of steps, but that’s because we went more into much more depth than you usually do. Once you have everything installed, to create new games you only have to add a couple of prefabs, sling some code, and away you go!
As suggested below though, and this is truly an important point, every one of these SDK’s and frameworks operates a little bit differently. Some might even have inverted look controls, increased or decreased sensitivity, or other interactions that make it unique. The best-practice for this sort of thing, in my opinion, has always been to create your own abstraction layer. Something that can “check for” and “hook into” the existing API’s from other manufacturers. This will make it easier for you to expand from the Myo, to the Leap Motion, and so on.
Nice work, Lloyd. You can most definitely use OSVR the way you are using it, but another way it to create (write-once, use many) a Myo plugin into OSVR. Myo would probably present itself to OSVR as a tracker and a gesture device (see Nod Ring plugin as an example here: https://github.com/OSVR/OSVR-Nod ) The upside here is that developers can use any device that gives them gestures (Nod, Myo, Leap Motion, Intel Realsense) instead of limiting their apps to a single device. If you’re up to doing this, we can most definitely help you in the process.
I absolutely agree with you. For the purpose of the article I’m mostly just focused on the easiest way for someone to just throw the two pieces together and have it “work” (I was trying to keep it really for the junior learners). Mostly with the intent to say that the limitation is on the developer, not on the hardware or the API’s 🙂 Long term, I’m with you, and I have a similar challenge. I’m probably going to need to write an abstraction layer for all the VR sets we want to support, and a separate one for all the input devices (I currently do this for controllers / touch / keyboard / mouse input / device 9dof -> so it most likely will be an addition to this). The plus side is it can then of course control a lot of it through events and uniform controls. It makes good sense, and you’re absolutely right about a more pluggable solution 🙂 Once the hardware becomes a little more accessible I’ll have something I can start plugging together – and at that point a more cohesive repo & article can come about from this. Right now, I only have OSVR and Myo to play with though.
Could you go into more detail about what modifications you needed to make to the OSVR scripts? If you think it’s something the community would find useful, please post an issue or even a pull request to the OSVR-Unity github page (https://github.com/OSVR/OSVR-Unity) and we’ll take a look at it.
Absolutely, and to be fair, this is a failure on my part. Both OSVR and Myo are very community driven. Its on us to do our part to help – I’ve already cloned the repo and been working through the code. I also should proof read the article because I thought I gutted that statement 😛 Edit: Should be all cleaned up!